Here is a quick recipe for making a network drive auto mount on your OSX machine. This works with pretty much any protocol supported by Finders “Connect to Server” option. Here is how you do it:
- From the Finder, hit Command+K or select Connect to Server from the Go menu.
- You’ll see the following window, enter the relevant information (ie: the network drive location, be it afp:// or smb:// or http://) and hit Connect button.

- Enter your login/password and click “OK”
- Make sure your Finder Preferences are set so Network Drives are visible on your desktop:

- At this point you should have a icon like
 on your desktop
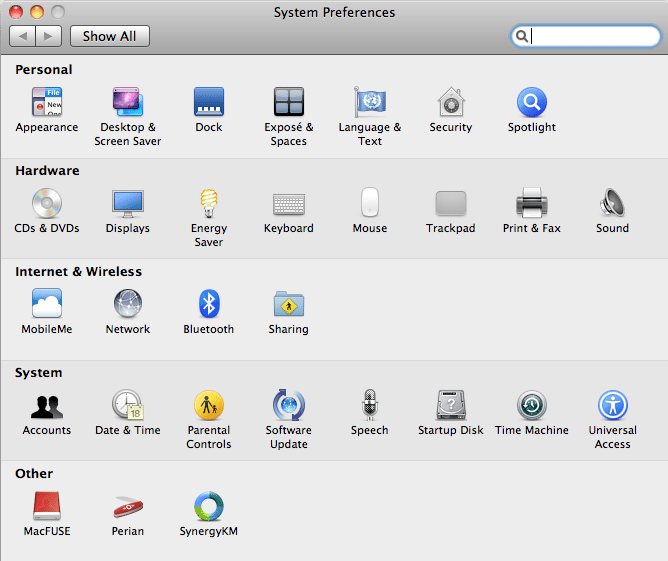
 - Now go to System Preferences under the Apple menu

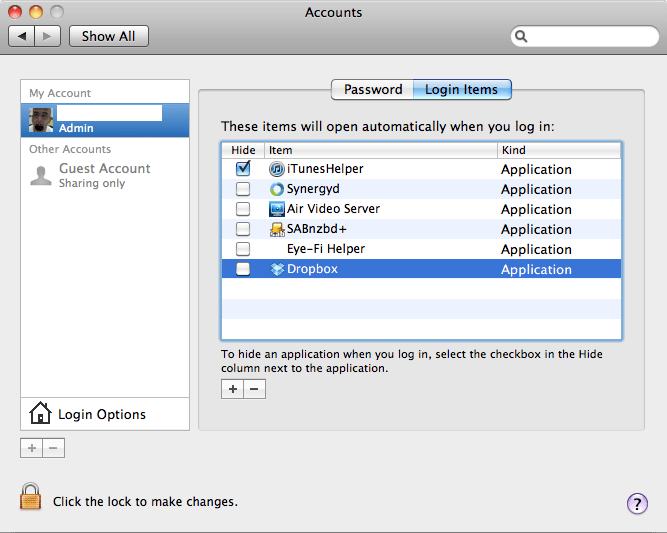
- Click on the Accounts icon under System and select Login Items tab (you might have to unlock this panel by clicking the small lock icon on the bottom left of that screen):

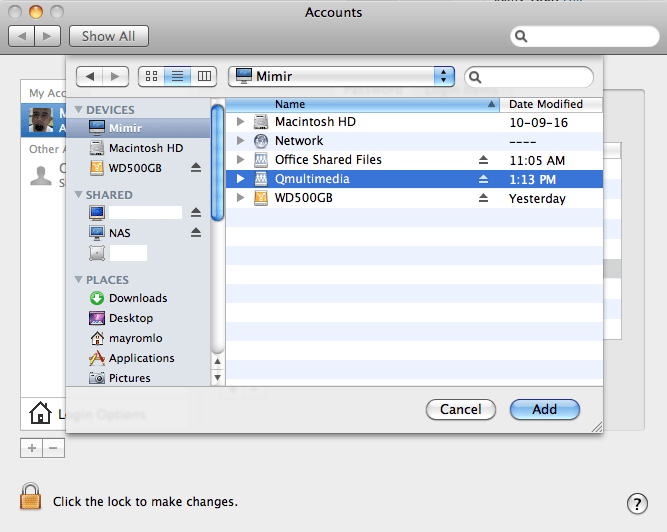
- Click the “+” sign to add a Login Item to the list and in the following screen go to your Computer icon (on the left under Devices) and select the mounted volume icon from the list on the right and click Add:

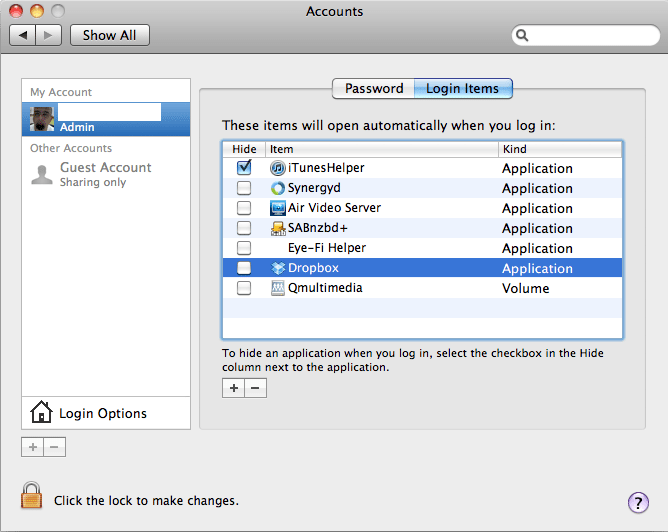
- You’ll end up with a screen similar to the one below. Click on Show All and exit Preferences. Reboot and make sure it all works.

That’s it…..Enjoy :-)