So the other day I had a bit of time and decided to paint the back of my Rokkor Lens. The lens originally had a Monilta mount, but with a lot of patience and tons of sanding I’ve modified it to fit the Canon EOS mount. The only thing that bugged me about the conversion was the fact that I was getting these weird flares in some of my shots and most of my “good” shots had really low contrast (washed out colours).
To remedy this I decided to grab some black car touch up paint from canadian tire and carefully touch up the inside of the new mount (which was silver since I sanded the aluminum down). Well I’m happy to report that everything went well (ie: I didn’t destroy my baby) and the image quality has improved considerably. Here are a few test shots:
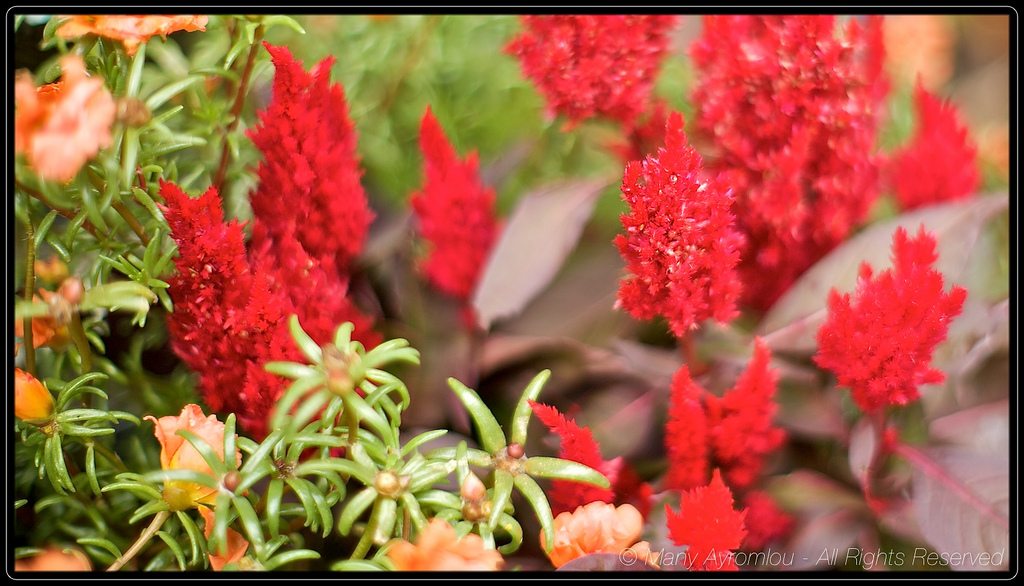

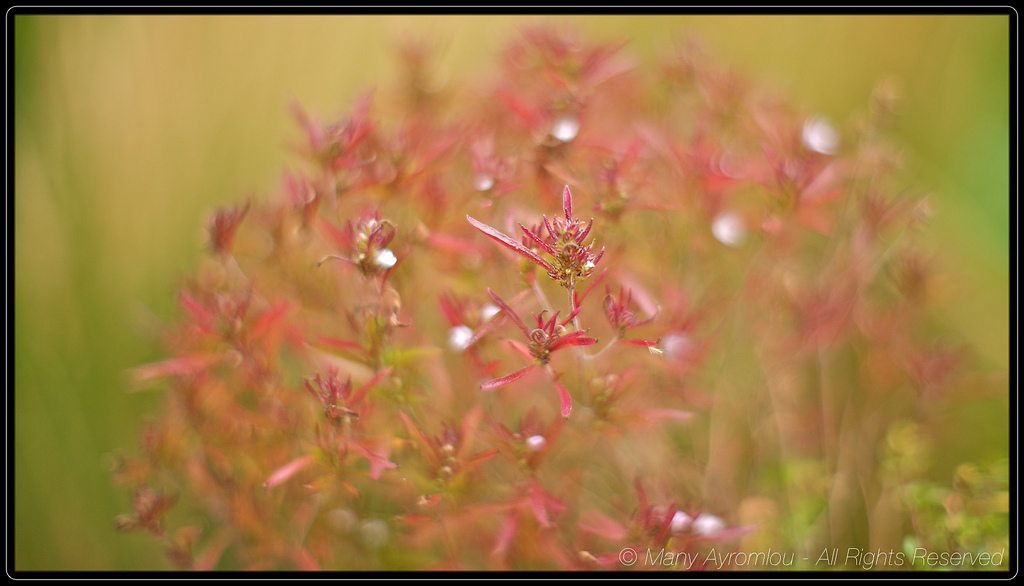

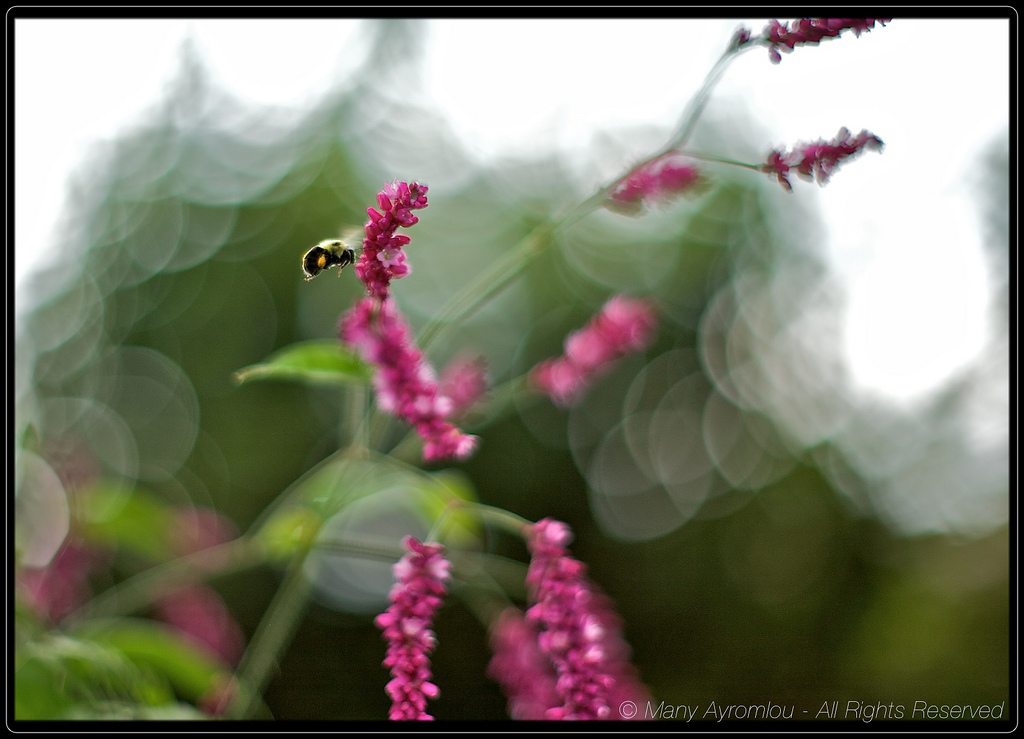
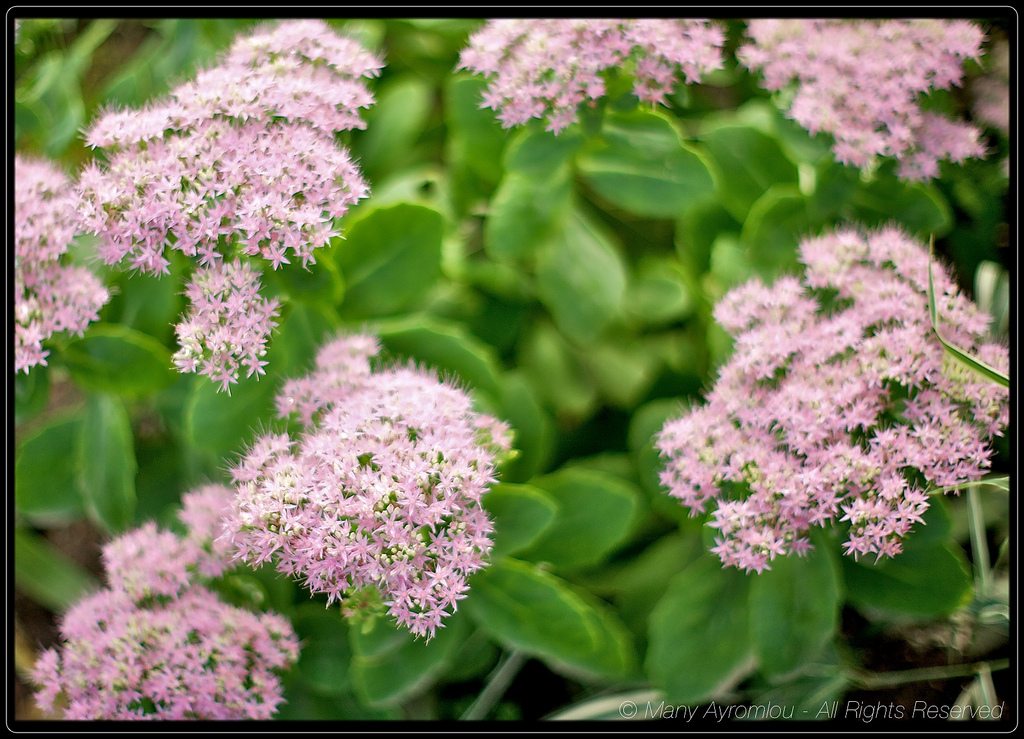
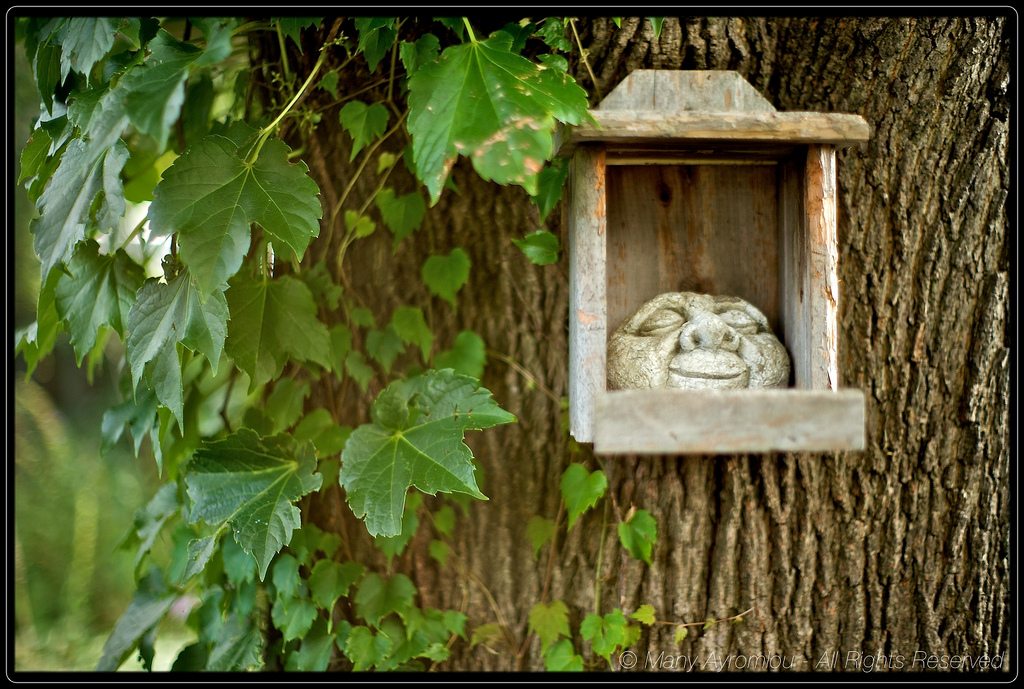
As you can see the depth-of-field is razor-thin, but once the contrast goes up the images are quite pleasing. The complete flickr set is here.
3 responses to “A couple of test shots with Minolta Rokkor 50mm/f1.2”
That's a super-cool mod, Many! What Canon body are you using? Did you follow any particular tutorial in doing the conversion?
Hi Ren,
I'm using a 5D body. I did search around before I did the mod. Found a site that had photographs of the mod for the 58mm/1.2 which helped. I did not find anything specific to 50mm/1.2. It's pretty simple though, but tedious :-). Lots of sanding and leveling (and sanding some more). That's only for infiniti focus though…..The modified lens before sanding could focus to about 15ft without issues.
A couple of notes:
1) You will need 4 tiny long screws as the ones from the mount are not long enough. I think they were about 1cm long.
2) I used a EOS-M42 adapter and drilled matching holes by using the Minolta mount as a guide.
3) Sanded the hell out of the spacer ring that gets sandwiched between the mount and the lens.
4) Be REALLY CAREFULL when you take the spacer out, the next ring is the aperture ring that has a really tiny ballbearing in it (makes the aperture ring click). You loose that and you'll hate yourself forever :-).
Other than that it's pretty simple :-)
Thanks for the tips, Many! I'll be trying my hand at this over the holidays, methinks:)